· By Chamoy City Limits
Pickled Fruit Recipe
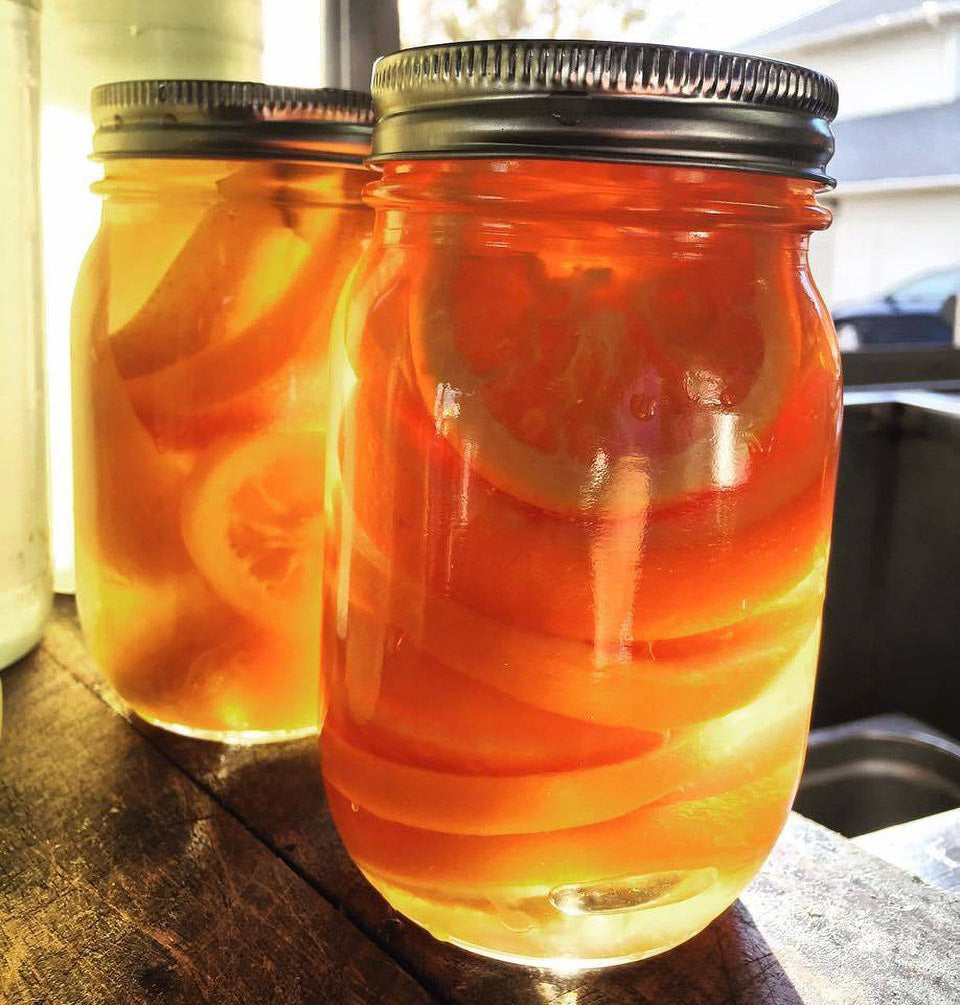
Pickled fruit is a delicious and tangy treat that can be enjoyed on its own, used as a condiment, or added to salads and cheese boards. The pickling process involves preserving the fruit in a brine solution, which enhances its flavor and extends its shelf life. We use it to garnish some of our raspas!
Here's a general guide on how to make pickled fruit:
Ingredients:
- Fresh fruits of your choice (such as cucumbers, peaches, pears, apples, etc.)
- Vinegar (white distilled vinegar or apple cider vinegar work well)
- Water
- Sugar
- Salt
- Whole spices (such as cinnamon sticks, whole cloves, star anise, etc., optional)
- Herbs (such as fresh mint, thyme, or rosemary, optional)
Instructions:
-
Prepare the fruit: Wash and dry the fruits thoroughly. Peel them if desired, and cut them into slices, wedges, or chunks, depending on your preference.
-
Make the brine: In a non-reactive saucepan, combine equal parts vinegar and water. For example, if you use 1 cup of vinegar, add 1 cup of water. The quantity of brine will depend on how much fruit you have and the size of your jars. You may need to adjust the quantities accordingly. Add sugar and salt to the brine, according to your taste. A general guideline is 1 cup of sugar and 1 tablespoon of salt per 4 cups of liquid, but you can adjust this based on your preference.
-
Heat the brine: Place the saucepan over medium heat and bring the brine to a simmer. Stir occasionally until the sugar and salt dissolve completely.
-
Add spices and herbs: If desired, add whole spices like cinnamon sticks, cloves, or star anise to the brine for added flavor. You can also include fresh herbs like mint, thyme, or rosemary. Simmer the brine for a few minutes to allow the flavors to infuse.
-
Pack the jars: Sterilize canning jars and lids by boiling them in hot water for a few minutes or running them through the dishwasher. Fill the jars tightly with the prepared fruit, leaving some headspace at the top.
-
Pour the brine: Carefully pour the hot brine over the fruit in the jars, ensuring that the fruit is fully submerged. Leave about 1/2 inch of headspace at the top.
-
Remove air bubbles: Gently tap the jars on the countertop to remove any air bubbles trapped inside. If necessary, use a clean knife or spatula to remove air pockets.
-
Seal the jars: Wipe the rims of the jars with a clean, damp cloth to remove any spills. Place the lids on the jars and screw them on tightly.
-
Process the jars (optional): If you want to extend the shelf life of your pickled fruit, you can process the jars in a water bath canner. Follow proper canning procedures, including sterilizing the jars and lids, filling the canner with water, and processing the jars for the recommended time according to the fruit you are pickling.
-
Cool and store: Allow the jars to cool completely at room temperature. Once cooled, check the lids to ensure they are properly sealed (the center should be concave and not pop back when pressed). Store the pickled fruit in a cool, dark place, such as a pantry or cellar. Let the flavors develop for a few weeks before enjoying. Properly sealed and stored pickled fruit can last for several months.
Remember, this is a general guide, and the exact measurements and ingredients may vary based on the fruit you choose and your personal preferences. Be creative with your spice and herb combinations to create unique flavors